Using Impasto Gel. Problems, Practicalities and Possibilities.
What to avoid, and what to play with.
Learn how using impasto gel creates vibrant and textured effects.
Using impasto gel is not quite as simple as throwing it on your canvas.
There’s a whole pile of things that you should consider, and some little traps to avoid.
Impasto gels are different depending on the manufacturer, and will all behave slightly differently.
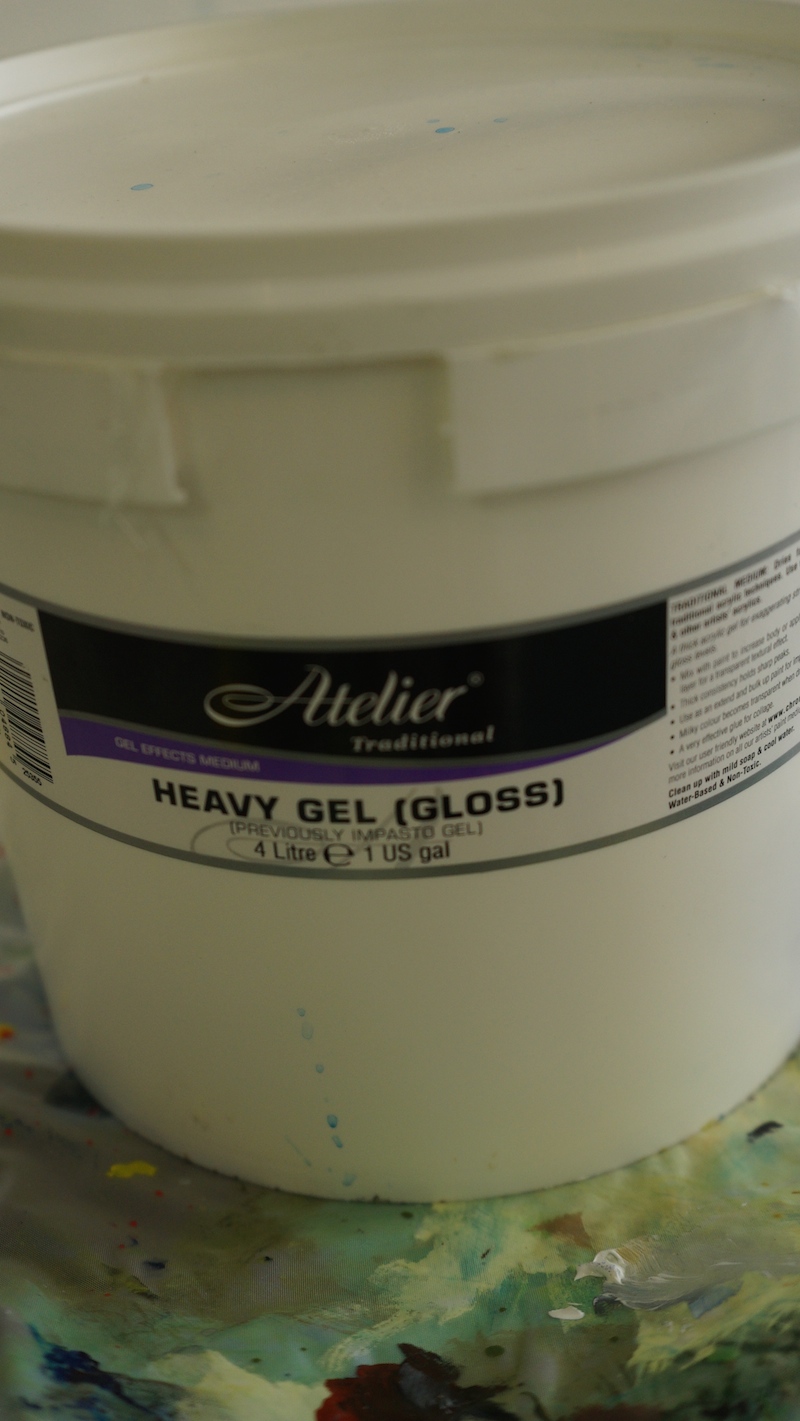
I use the Atelier range of gels . I find them able to do everything I need them to. And they dry absolutely clear. I have a preference for the Heavy Gel Gloss, and buy it in 4L tubs, no jokes.
Artist quality archival paints and mediums will last, and behave consistently. Cheap, dodgy ones won’t. Scrimp on your brushes, but not on your paints, mediums and canvas.
When using impasto gel, you need to ask yourself a few questions:
- What is my intended result?
- Do I want the surface glossy?
- Do I want to see the brushmarks?
- Can I make patterns in the impasto gel to add to the painting?
- Do I want to “tint” the gel to make a subtly colored, chunky glaze?
- What sort of texture do I want?
When you’ve worked out what your result should be, you can then look at your options.
So let’s look at some ideas that will help, and some things to avoid.
Firstly, gloss. Some people don’t like the gloss finish. It does have a very shiny sheen. It reflects a lot of light.
Some people prefer a matt. The matt, unfortunately does tend to diminish your darks. It can also sometimes flatten all the good work you’ve done to build up the depth in your shadows.
If you can’t choose between the two, use the gloss version, and put a satin varnish sealer over the finished painting. It’s often a lovely compromise.
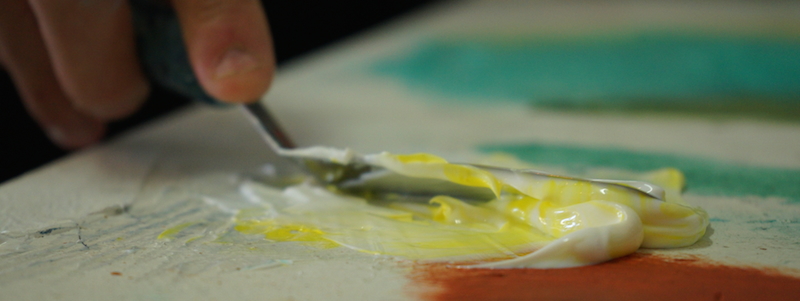
Because the Heavy Gel Gloss is very VERY thick, it can sometimes be hard work to apply, especially on large paintings. It’s a great idea to keep a pot of clean water next to your pot of impasto gel. It’s easier to apply if your brush is wet before loading with the gel.
A dip into the water each time will make the process a lot easier.
Having the water also can help if you wish to smooth out your brushstrokes. This is because when it’s diluted, the gel settles back slightly, and the brushstrokes flatten out.
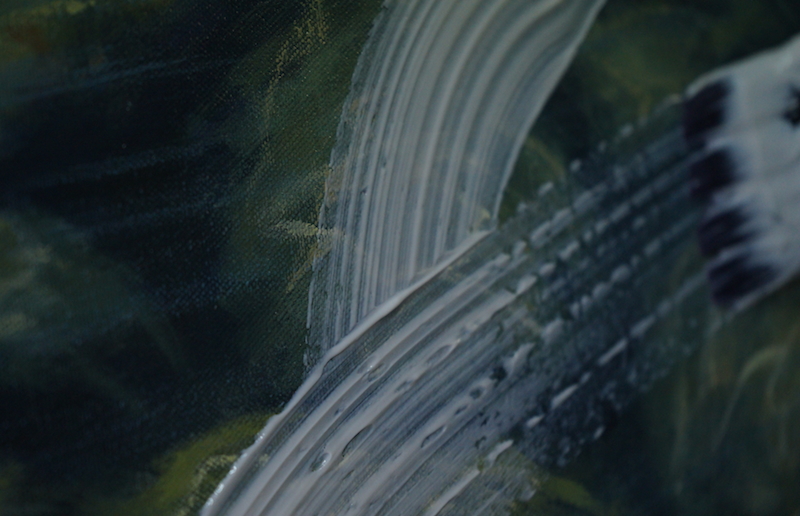
If you want a lot of texture, dampen your brush just the same, and scoop up a huge amount of gel.
I quite like having some brush marks, but will generally apply in a cross-hatch, haphazard way, no particular brushstrokes making any patterns.
Having said that, if you’re painting a rainy day for example, I could see the benefit in dragging your brushstrokes through the gel in the direction of the falling rain.
You can even try applying impasto gel over your underpainting with a palette knife before adding other layers of paint. Try impressing leaves, doilies and other objects into your gel before it dries. Texture galore.
Using impasto gel to seal and protect a “delicate” underpainting is another great way to use it. Paint is fundamentally glue and pigment, and sometimes in the process of making paintings, the glues are broken down by adding too much water.
Working over the top of that with a thin product like a varnish can sometimes “re-open” and disturb the broken down paint.
Impasto gel tends to sit on the surface, and create a barrier (however don’t brush too hard, or for too long).
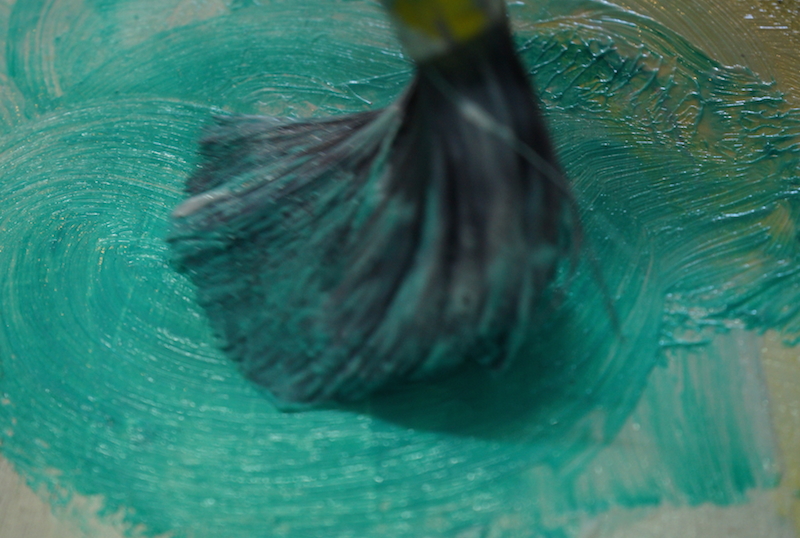
Another fun thing to try is to add a tiny bit of pigment to your gel. This will create a lovely, thick, faintly tinted, transparent glaze. Gorgeousness.
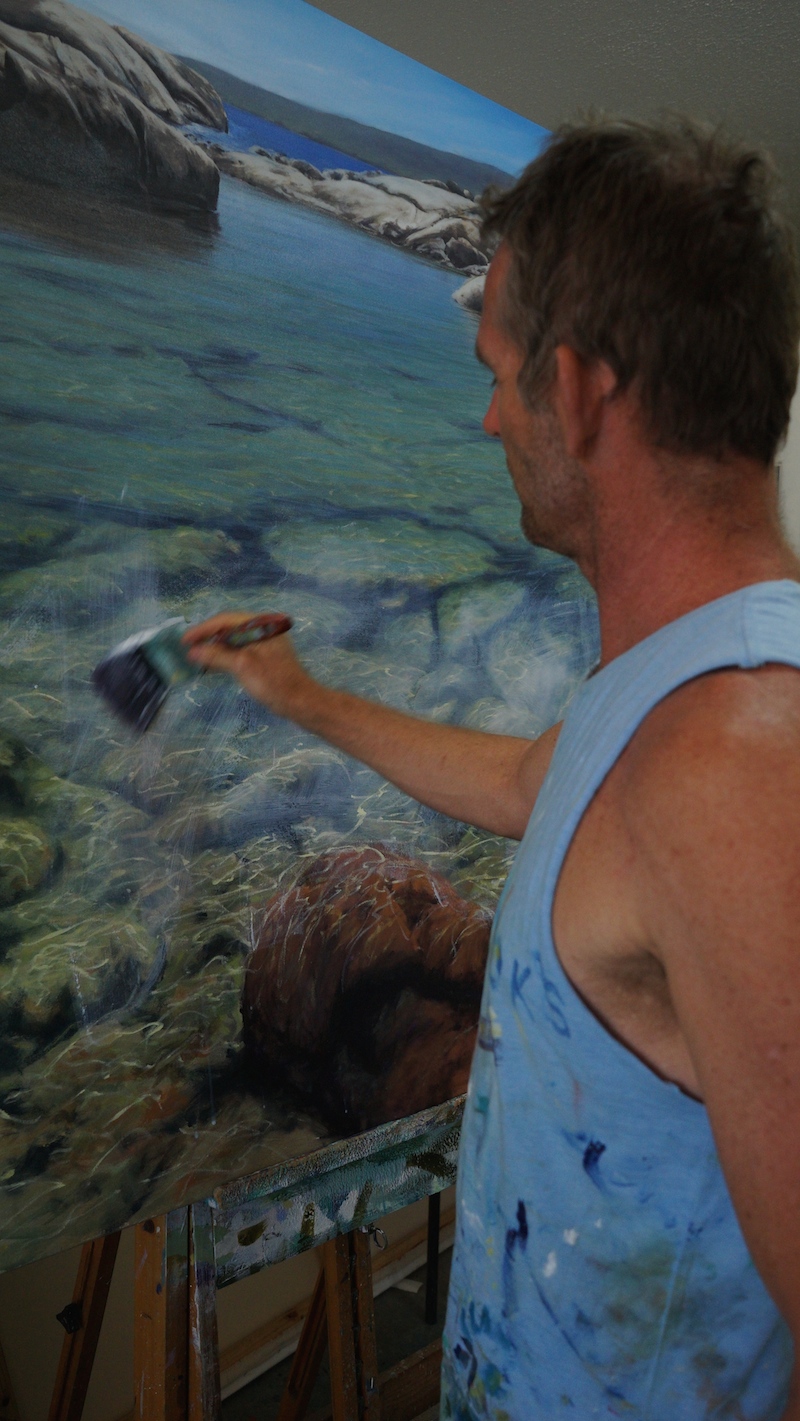
One of my favourite things to do is to add a thick layer of impasto gel, softened with large damp brush, in between different layers throughout the painting.
This separates some of the layers of paint, which adds to the illusion of dimension. The other thing about this approach is that the light will travel through the paint layers, hit the surface beneath and bounce back to your eye, creating extra luminosity. Awesome.
Remember to play and experiment - the possibilities for using impasto gel are only limited by your imagination!
And for more great tips and techniques including unexpected uses for other mediums, check out my DVD of the same name here at the shop!
Back To Acrylic Painting Techniques
Back to Explore Acrylic Painting Home Page







New! Comments
Have your say about what you just read! Leave me a comment in the box below.